|
PGSplice
3.0
Precast-prestressed Spliced Girder Bridges
|
|
PGSplice
3.0
Precast-prestressed Spliced Girder Bridges
|
Erecting piers, constructing and erecting segments, casting closure joints and deck, installing traffic barriers, stressing tendons, and opening the bridge to traffic are construction activities that must be assigned to construction events. PGSplice offers two methods for assigning the various bridge components to the timeline; Direct Assignment and Timeline Editing.
NOTE: When a bridge component is moved into an event, it is automatically removed from whatever event it previously belonged.
Bridge components can be directly assigned to the timeline while those elements are begin edited. The details windows for the bridge components have drop down lists of events. Simply select an event from the list to assign the component that is being edited to that event.
Let's look at the Temporary Support Details window for an example.
Open the Temporary Support Details window and select the General tab.
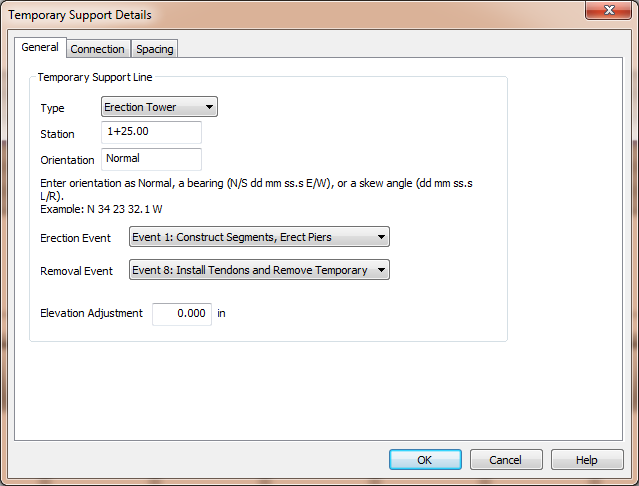
We need to model the construction events when the temporary support is erected and when it is removed from the structural system. In the image above we see drop down lists for "Erection Event" and "Removal Event".
Now select the Connection tab.
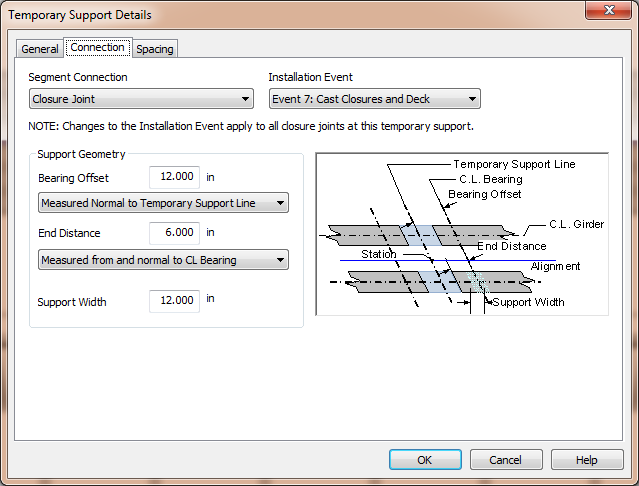
If the Segment Connection is "Closure Joint" we have to select an event that defines when the closure joint is installed.
Timeline event drop down lists are found on the editing windows for all of the bridge components including the precast-segments, girders, closure joint, railing system, bridge deck, and loading.
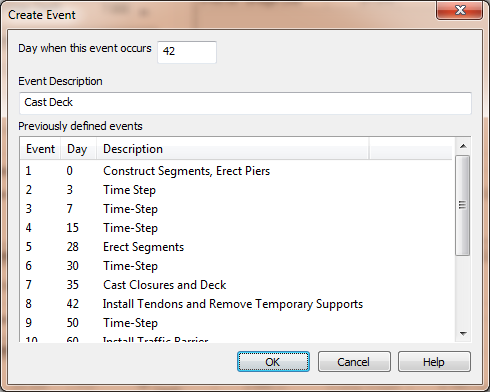
If the timeline does not quite fit your project, you can create a new timeline event directly from the drop down list.
The timeline for these tutorials has the closure joints and deck cast at the same time. Let's say that we want to cast the deck after the closure joints.
While the Direct Assignment method makes it easy to create events as needed and move individual bridge components between events, it does not provide you with event details and it is not convienent for assigning similar components, such as the precast segments, to the same event. Using the Direct Assignment method, you would have to edit every segment one at a time to change their construction and erection events.
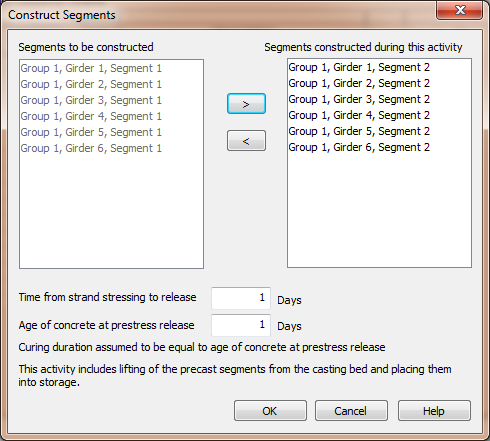
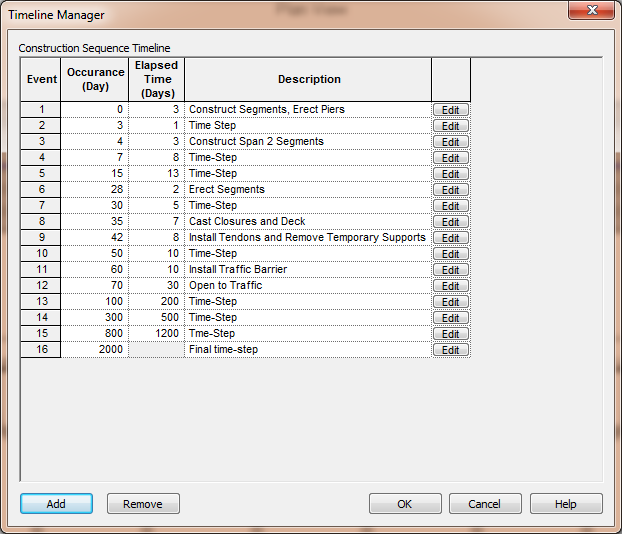
The Timeline Editing method provides the event details and allows you to manipulate the events associated with all of the bridge components in one place.
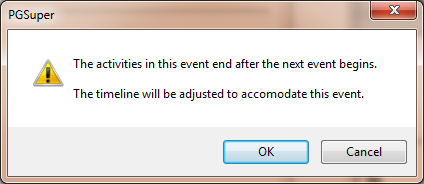
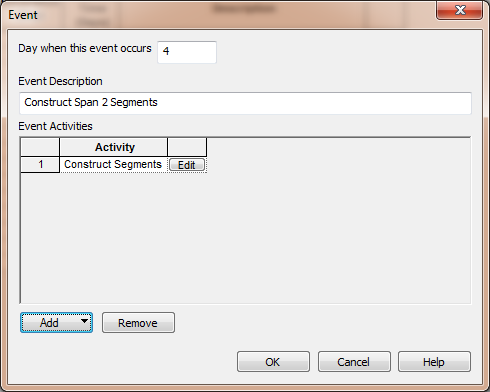
The timeline for these tutorials have all the segments being constructed at the same time. Generally this is sufficient and it results in faster time-step analysis. However, for sake of example, let's assume we want to model segments being constructed at two different times.

 1.8.11